Attwood
Attwood Flush Hatch Pull
Attwood Flush Hatch Pull
Regular price
$5.99 USD
Regular price
Sale price
$5.99 USD
Unit price
per
Couldn't load pickup availability
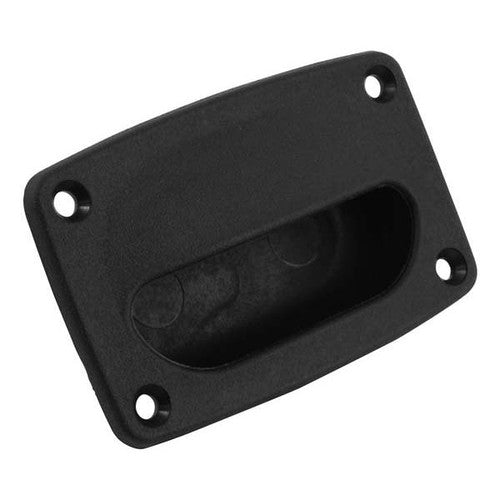
Attwood Flush Hatch Pull
The Attwood Flush Hatch Pull is an easy access handle for installation in lids, doors, compartments and hatches. Constructed from durable ABS, with a textured black finish. This hatch pull has a low-profile design and its deep bottom allows even gloved hands to easily grip the handle.
Installation Instructions
HOW TO INSTALL ATTWOOD FLUSH HATCH PULL
Needed for Installation
- Center punch or awl
- 1-5/8” hole saw
- Small hand saw
- Drill and suitable drill bits
- Screwdriver
- (4) #6 or #8 bugle head screws
Installation
Mark Installation Hole
- Select a location that will not interfere with hatch frame.
- With handle facing edge of hatch, place template in desired location. Ensure that template is parallel with hatch, so that hatch pull will be straight when installed.
- Using punch or awl, mark hatch trough template at four attaching screw locations, then mark the two installation hole centerlines.
Note: The two installation holes must be marked on-line to ensure proper hatch pull alignment.
Drill Holes
- Drill two installation holes with the 1-5/8” hole saw. Use hand saw to remove material between installation holes.
- With handle opening facing edge of hatch, place bottom portion of hatch pull into installation hole and check for proper fit.
- Position top portion of hatch pull and ensure that screw holes are aligned with marks on hatch-if not, make a new mark through screw holes.
- Drill all four attaching screw holes.
Install Hatch Pull
- Install bottom portion of hatch pull first, then top portion. Ensure handle opening is facing edge of hatch.
- Install and tighten four attaching screws.
Information sourced from the Attwood Flush Hatch Pull Installation Instructions
California Residents:  WARNING Cancer and Reproductive Harm - P65Warnings.ca.gov